How Hostinger Free WordPress Migration Works After You Buy
Migrate WordPress to Hostinger free migration steps start after you buy an eligible WordPress hosting plan, not before. Purchase Premium or Business, open hPanel, submit your old host login details, wait for the copy to finish, test the site on Hostinger, then point DNS when you are ready to go live.
You do not need to manually export SQL files or upload zip folders for the standard free migration path. Hostinger handles the file and database transfer when your credentials are correct and the site size fits normal limits.
The biggest delays come from missing FTP passwords, wrong domain spelling, or changing nameservers before the new copy is tested. Prepare logins first, keep the old site running until cutover, and treat DNS as the final switch, not step one.
Short verdict: buy the right plan, gather old host access, request migration in hPanel, verify pages and forms on Hostinger, then update DNS and SSL. That sequence keeps downtime low and rollback simple if something looks off.
Ready to start? Open Hostinger WordPress hosting plans first if you have not purchased yet, then return to the credential checklist in the next sections.
Keep this page open while you shop so you can match plan names, term length, and migration eligibility against the live checkout screen instead of guessing from memory.
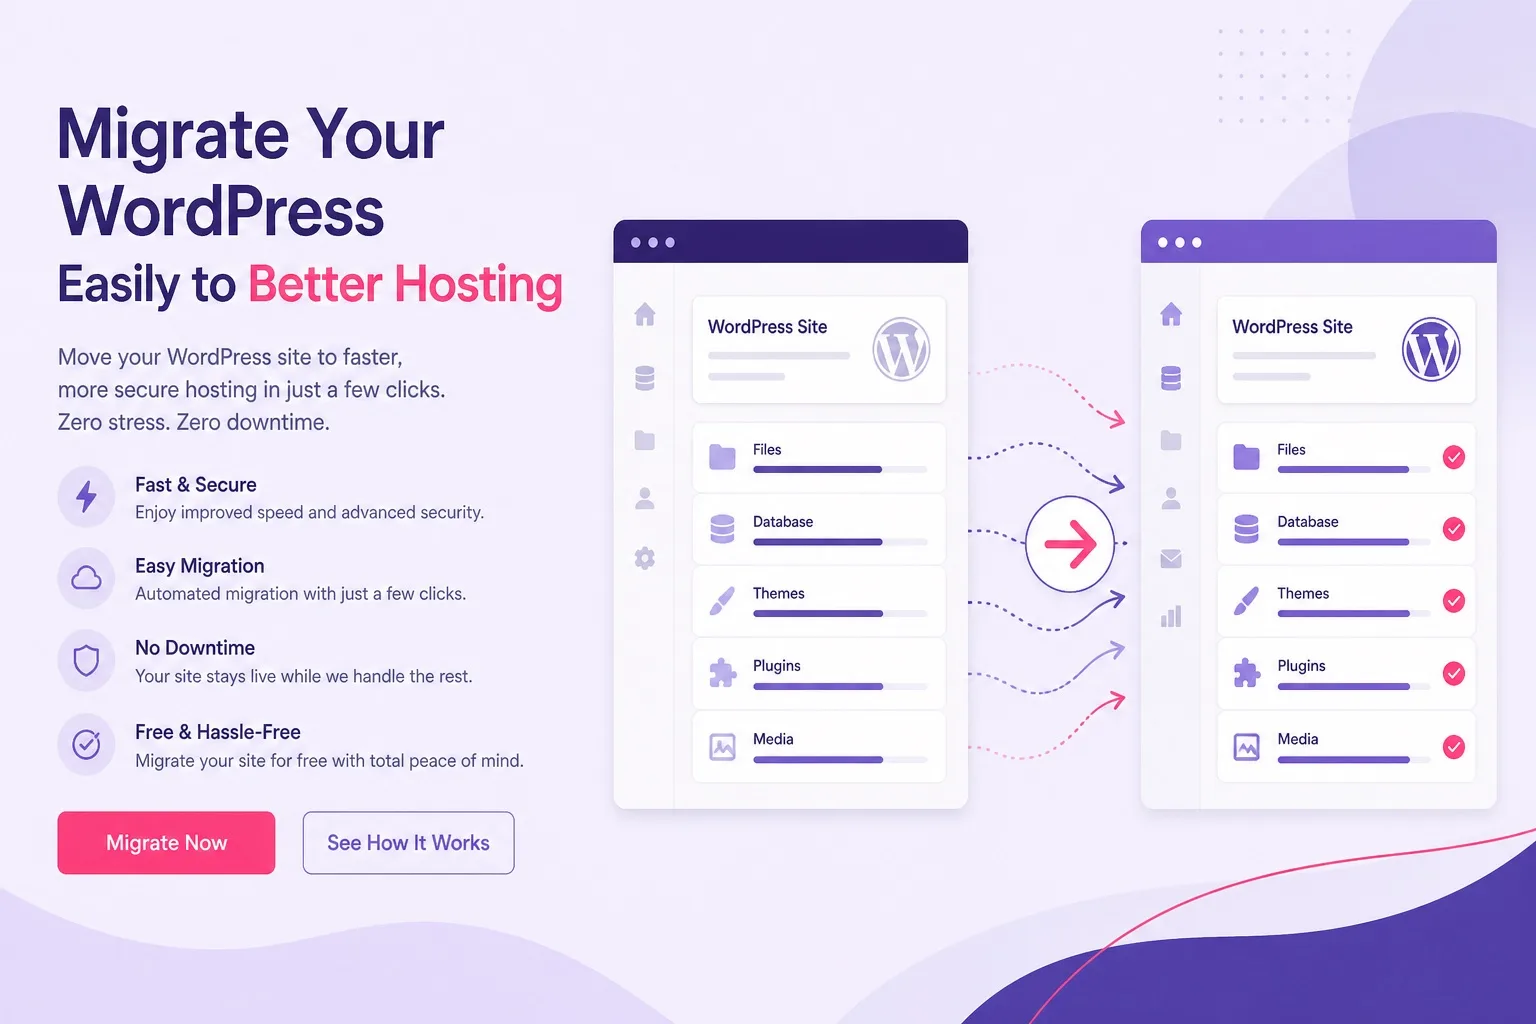
Free migration runs after checkout on eligible Hostinger WordPress hosting plans. DNS change comes last, not first.
What Hostinger Free WordPress Migration Includes
Hostinger free WordPress migration is a done for you site copy from your current host to your new Hostinger account. It is included on qualifying WordPress hosting plans so buyers can move without hiring a developer for a basic transfer.
The service typically covers files, the WordPress database, themes, plugins, uploads, and standard wp-config settings. Hostinger migration staff or automated tooling pulls data using FTP or control panel access you provide in the request form.
What it does not replace is your planning work. You still choose the correct plan, supply accurate logins, decide when DNS switches, and test checkout flows, forms, and email after cutover. Free migration moves the site. You own the launch decision.
Eligibility can vary by plan tier and current campaign rules. Some entry tiers may limit migration count or site size. Always read the migration line on the live order summary instead of assuming every cart includes unlimited moves.
Experience note: most successful migrations we see share one trait. The owner had FTP, database, and WordPress admin access ready before opening hPanel. Missing one password adds days of email back and forth with the old host.
Confirm current migration terms on the live WordPress hosting plans page before you treat any blog summary as final policy.
Which Hostinger Plan to Buy Before You Migrate
Plan choice matters because migration copies your site onto the resources of the plan you purchased. A heavy WooCommerce store on an entry tier can feel slow after the move even when files transferred perfectly.
Premium is the default pick for blogs, portfolios, local business sites, and light brochure WordPress projects moving from shared hosting elsewhere. It usually includes free domain eligibility on qualifying annual terms, weekly backups, free SSL, and room for multiple websites if you add staging later.
Business fits stores, membership sites, agency client projects, and traffic spikes that need daily backups and staging friendly headroom. If your current site already struggles on modest shared resources, migrating to Business reduces repeat upgrade tickets in month one.
Single or entry one site tiers can work for very small blogs, but many movers outgrow them quickly when email, free domain, or second install needs appear. Read our buy WordPress hosting on Hostinger which plan guide if you are still choosing between Single, Premium, and Business before migration day.
Trust tip: screenshot promo price and renewal price on checkout before you pay. Migration does not change renewal math. You still live with that billing term after the site lands on Hostinger.
When Premium or Business matches your site size, buy Hostinger WordPress hosting on the tier that fits traffic and backup needs, then request migration in the same week so credentials stay fresh.
Prepare Old Host Credentials Before You Request Migration
Credential prep is the step most people skip, then wonder why migration sits pending for days. Open a notes document and collect every login before you touch the hPanel migration form.
Start with the live domain name exactly as visitors type it, including www or non www preference if your old site redirects one way. A typo here sends the migration team to the wrong vhost folder.
Next gather FTP or SFTP details: hostname, username, password, and port if non standard. Log in once yourself to confirm the credentials work. Expired passwords are the top delay reason on shared hosts.
Many hosts also need database name, database username, database password, and sometimes phpMyAdmin URL. If your old host uses cPanel, you can find these under MySQL Databases. Write them down even if you think Hostinger only needs FTP.
Add WordPress admin URL, admin username, and admin password. Migration staff may need to verify plugin behavior or fix table prefixes inside wp-admin after import.
Optional but smart: export a manual backup from the old host before you submit anything. UpdraftPlus, host backup tools, or a full cPanel backup gives you rollback insurance if DNS cutover reveals a rare plugin conflict.
If the domain registrar is separate from hosting, locate registrar login too. You will need it later for nameserver changes even though migration itself uses hosting credentials first.
Disable aggressive security plugins that block foreign IP FTP attempts right before migration if your old host allows it. Wordfence and similar tools can reject Hostinger pull jobs until you whitelist their process or temporarily relax firewall rules.
List every addon domain if the WordPress install lives in a subfolder or addon vhost. The migration form asks where the site lives relative to the account root. Wrong path answers copy an empty public_html while your real site sits elsewhere.
When your credential sheet is complete, keep it secure and start the hPanel request the same day passwords were tested. Old passwords rotated by the previous agency are a common hidden blocker.
New buyers who still need a fresh install path can read how to install WordPress on Hostinger for greenfield setup, then use migration only when an existing live site must move.
How to Request Free Migration in hPanel Step by Step
After purchase, log into hPanel with the email you used at checkout. The dashboard groups websites, email, domains, and migration tools in the left menu or main tiles depending on the current hPanel layout.
Step 1: locate Website Migration, Migrate Website, or a similar migration entry. Hostinger occasionally renames tiles, so search the hPanel search bar with the word migration if you do not see it immediately.
Step 2: choose WordPress as the site type when prompted. Other site types follow different import paths. Picking the wrong category sends your ticket down the wrong queue.
Step 3: enter your live domain, old host company name, control panel URL, FTP hostname, FTP username, and FTP password. Paste carefully. Trailing spaces in passwords fail silently.
Step 4: add optional database fields if the form includes them. More detail usually speeds review. If you only know FTP, submit FTP first and reply quickly when support asks for database access.
Step 5: note special instructions in plain language. Examples: multisite network, Bedrock folder structure, large wp-content uploads folder, or staging copy you do not want moved. Clarity prevents wrong site copies.
Step 6: submit the form and watch email plus hPanel status messages. Reply fast to any credential correction request. Tickets stall when owners disappear for a week mid migration.
Step 7: when Hostinger marks the migration complete, open the temporary preview URL or hosts file method they provide. Click home, blog posts, contact forms, and admin login before you touch DNS.
Experience detail: hPanel migration requests feel boring compared to plugin based DIY moves, but boring is good. You are not babysitting partial zip uploads at midnight. You are waiting for a professional copy while the old site stays live.
If you have not bought yet, start at WordPress hosting checkout, finish plan selection, then return to hPanel within minutes so migration eligibility ties to the correct new account.
After payment clears, bookmark the migration form so you can paste FTP host, username, password, and domain name without hunting through email threads.
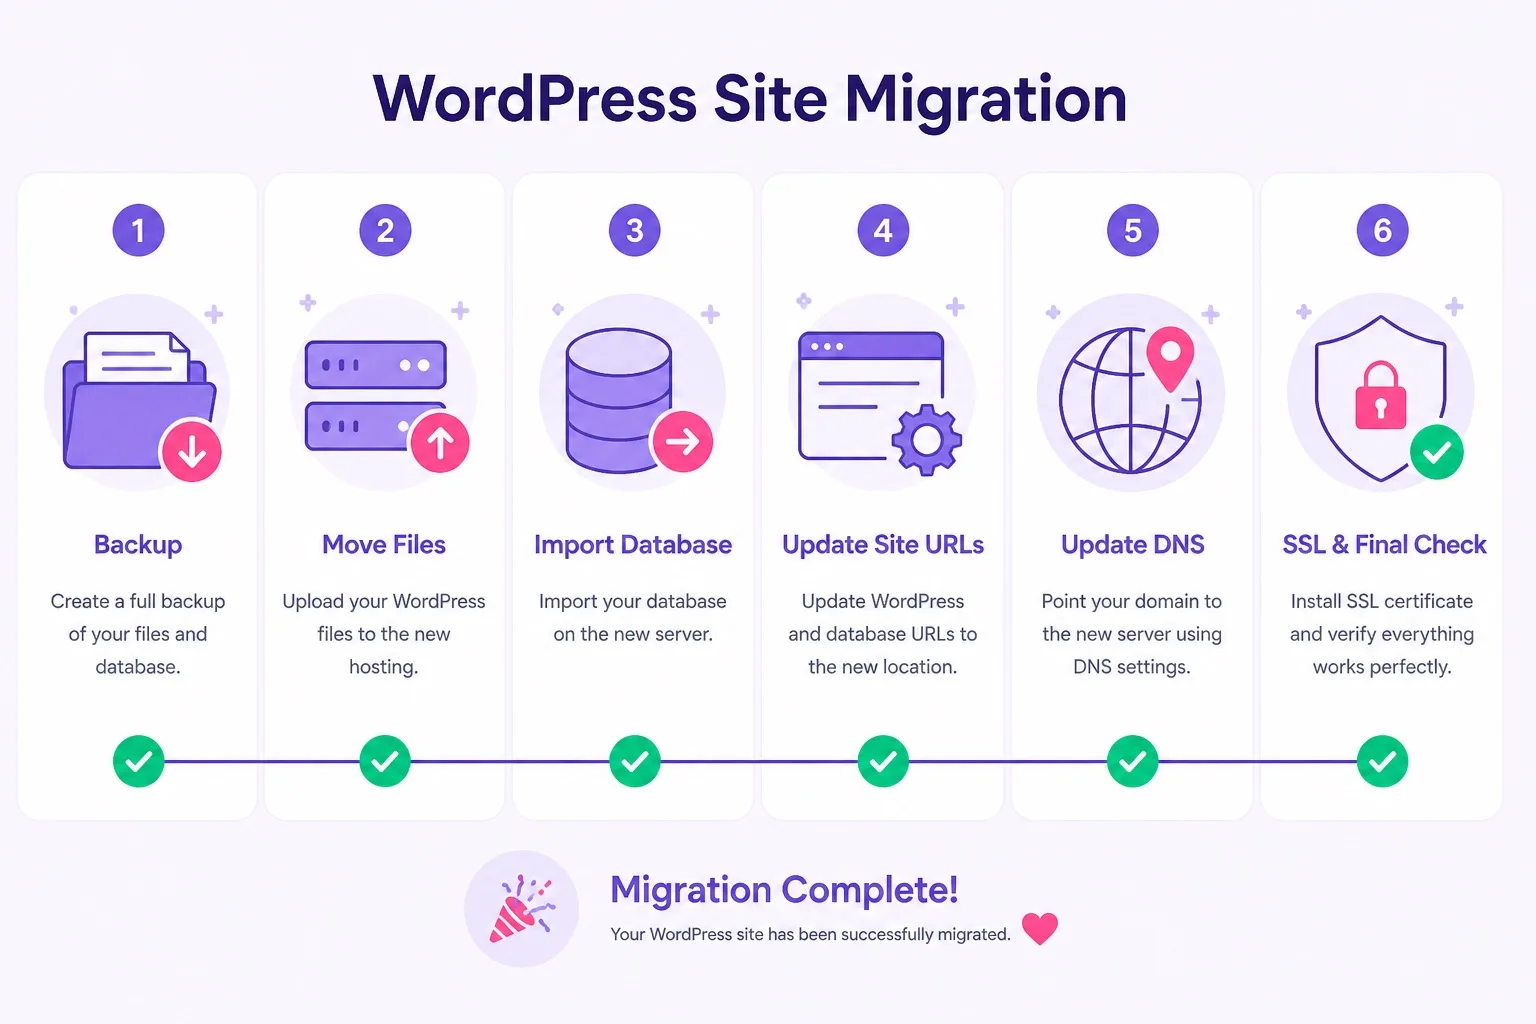
Submit FTP and database access in hPanel after purchase. Test the copied site before you change DNS.
What Happens During the Hostinger Migration Process
Once your request is accepted, Hostinger connects to the old server using the credentials you supplied. They locate the WordPress root, export database tables, copy theme and plugin files, and import everything into your new hosting space.
During this window your live site on the old host should stay online for visitors. Migration is a copy operation, not an instant cutover. Shoppers and readers still hit the old server until you change DNS later.
Simple blogs and brochure sites often finish within one to two business days when credentials are complete. Larger media libraries, multilingual plugins, or bloated databases can extend the window.
You may receive email updates asking for corrected passwords or confirming which install is canonical when multiple WordPress copies exist on the old account. Respond the same day when possible.
Hostinger may adjust siteurl and home values temporarily so you can preview on a staging hostname. Do not panic if the preview URL looks different from your final domain. That is normal until DNS points to Hostinger.
WooCommerce and membership plugins deserve extra patience. Order tables are large. Subscription plugins may need license reactivation after domain changes. Plan testing time beyond the migration complete email.
While you wait, document current DNS records at the registrar: A records, AAAA if used, MX for email, TXT for SPF and DKIM, and any CDN CNAME rows. You will need that list if email must keep flowing through Google Workspace or Microsoft 365 during the move.
If migration status stalls beyond the quoted window, open a support ticket from hPanel with your domain and submission date. Usually the fix is one missing database password, not a failed platform.
Buyers comparing hosts before they move should read our Hostinger WordPress hosting review for broader speed, support, and plan context beyond the migration ticket itself.
When the copy looks complete on preview, note the time and take screenshots of key pages. Those screenshots help support if a plugin renders differently only after DNS flips.
Eligible accounts can queue the next site only after confirming plan limits. Multi site owners should verify how many free migrations their tier includes on the live Hostinger Premium plan or Business checkout card before submitting a second domain.
DNS and Nameserver Timing When You Switch Hosts
DNS timing separates smooth migrations from preventable downtime. Treat nameserver or A record changes as the go live lever only after Hostinger confirms the site copy and you tested critical pages on preview.
Hostinger gives you nameserver pairs in hPanel under Domains. Typical pattern is two ns hostnames you enter at your domain registrar, replacing the old host nameservers. Propagation can take minutes to 48 hours depending on TTL and registrar caching.
Alternative method: keep the registrar nameservers and update A record to the Hostinger IP shown in hPanel. Some teams prefer A record changes when email MX must stay untouched at the registrar DNS panel.
Lower TTL a day before cutover if your registrar allows it. TTL of 300 seconds makes rollback faster if you must point back to the old host temporarily.
Never change DNS before migration testing finishes. Early switches send visitors to blank pages or default parking content while files still copy.
Email is the silent casualty of sloppy DNS work. If MX records lived at the old host DNS panel and you switch to Hostinger nameservers without copying MX rows, mail bounces. Export zone file or screenshot every MX and TXT record first.
Use whatsmydns.net or similar propagation checkers after you save registrar changes. Test from mobile data, not only your office WiFi, because local DNS cache lies.
Keep the old hosting account active until propagation completes and SSL works on the live domain. Rollback is pointing DNS back, not rebuilding WordPress from scratch, when you keep both accounts warm for a few days.
CDN users on Cloudflare or similar must update origin IP or pause proxy orange cloud briefly during first login tests so you know whether issues are DNS, SSL, or plugin related.
Scheduled cutover works well for low traffic nights or weekends in your audience timezone. Post a short maintenance notice if the site serves paying customers globally.
Document the exact time you changed DNS. Support tickets go faster when you can say migration completed Tuesday and nameservers changed Wednesday 9 PM UTC.
If you bought domain and hosting together, claim the domain inside hPanel first so nameserver instructions match the account that holds the migrated files. Confusion appears when domain sits in one Hostinger account and hosting in another.
Need affordable hosting with clear renewal lines before you commit to a move? Compare promo and renewal on cheap WordPress hosting tiers, then schedule DNS only after preview tests pass.
SSL and HTTPS After You Migrate WordPress to Hostinger
WordPress hosting free SSL on Hostinger activates after your domain points to Hostinger nameservers or the correct A record and the system issues a certificate. hPanel usually shows SSL status under Security or SSL tiles for each website.
Wait for the certificate to reach Active or equivalent status before forcing HTTPS sitewide. Premature HTTPS redirects cause browser warnings visitors remember.
Inside WordPress, set Site Address and WordPress Address to https://yourdomain.com under Settings > General if they still show http after cutover. Many migration previews use http until SSL finishes.
Install or reactivate Really Simple SSL or use Hostinger tools if provided, but only after the certificate is live. The plugin cannot invent a cert the server lacks.
Search replace tools are sometimes needed when hard coded http image URLs remain in post content. Better Search Replace plugin run on staging first, then live, fixes mixed content without manual SQL edits for most sites.
WooCommerce stores must recheck cart and checkout pages under HTTPS. Payment gateways reject mixed content checkout frames quietly. Click through a test order in sandbox mode if available.
Renewals on free SSL are automatic on eligible plans. You still monitor expiry alerts in hPanel after major DNS changes or CDN moves because edge cases exist when proxy settings change.
HSTS headers and force HTTPS at server level can wait until you confirm all assets load securely. Turning HSTS on too early traps browsers in error loops during partial migrations.
After SSL is stable, purge LiteSpeed or other cache plugins configured on Hostinger. Cached http pages confuse testers who think SSL failed when only cache served old rows.
Security plugins from the old host may block certificate validation bots briefly. If SSL pending exceeds 24 hours after DNS propagation, temporarily disable firewall plugins and retry issuance from hPanel.
Launch week is smoother when you launch WordPress website hosting on Hostinger with SSL checked on home, login, cart, and contact pages before you announce the move to subscribers.
What to Check After Migration Completes
Post migration testing is where trust is won or lost. A copied site that looks fine on the homepage can still hide broken forms, dead cron jobs, or email deliverability gaps.
Checklist item one: homepage, main menu links, and footer links. Click every item once. Migration rarely breaks menus, but custom post type archives sometimes need permalink flushes under Settings > Permalinks save.
Checklist item two: wp-admin login with your existing user. Reset password only if necessary. If login fails, confirm table prefix in wp-config matches imported tables.
Checklist item three: contact forms. Submit a test message on Contact page, landing pages, and popup forms. SMTP plugins often store API keys tied to old domain allowlists.
Checklist item four: media library random images on an old blog post. Broken media usually means wrong upload path or incomplete file copy. Re-upload only if many files fail, then open ticket with examples.
Checklist item five: scheduled tasks and backup plugins. Disable duplicate backup plugins from the old host if Hostinger backups now cover you. Two backup systems slow admin and fill disk.
Checklist item six: search and pagination on blog index. Pretty permalinks sometimes need one save click after migration even when homepage loads.
Checklist item seven: WooCommerce product pages, tax, shipping zones, and payment gateway connection. Stripe and PayPal keys may need reauth when domain URL changes in their dashboards.
Checklist item eight: SEO plugin settings, sitemap URL, and Google Search Console property. Submit updated sitemap after HTTPS stabilizes. Expect normal ranking fluctuation for a few weeks after host moves.
Checklist item nine: cron and email deliverability. Send test mail from site contact plugin and from Hostinger mailbox if you use host email. SPF alignment breaks when MX records were edited wrong.
Checklist item ten: performance under cache. Run Lighthouse or GTmetrix once cache warms. Migration itself does not optimize images or remove bloated plugins the old host tolerated.
Document every issue in a spreadsheet with URL and screenshot. Support resolves faster with structured reports than with a single email saying something feels slow.
When checks pass, update analytics property if it hard coded old host subdomain, and remove maintenance mode plugins left enabled from preview work.
Browse more launch guides on the WordPress hosting blogs hub if you want plan comparisons and install walkthroughs alongside this migration checklist.
Stores with heavy traffic should confirm resource usage graphs in hPanel during the first week. Early spikes reveal whether Hostinger Business plan was the right migration target or an upgrade is due sooner than planned.
Premium vs Business for WordPress Sites You Plan to Move
Premium vs Business is the plan fork many migrators ignore until backup frequency or staging needs appear on week two. Choose before migration so file paths and resource limits stay stable after import.
| Migration factor | Premium | Heavier sites Business |
|---|---|---|
| Typical site type | Blog, portfolio, brochure business | Store, agency client, membership |
| Backups | Weekly on common terms | Daily backups on common terms |
| Staging | Often manual second install | Built in staging on many setups |
| Traffic headroom | Comfortable for small business | Better for spikes and catalogs |
| Migration fit | Standard blog and marketing sites | WooCommerce and plugin heavy stacks |
| Renewal note | Confirm live renewal at checkout | Higher renewal, more features |
Backup frequency, staging, and exact limits change. Confirm live plan cards before you migrate a production store.
Premium wins when your current site is a content site with moderate plugins and no heavy checkout. You still get free SSL, hPanel, and enough room for growth without paying Business renewals on day one.
Business wins when daily backups matter legally or financially, when editors need staging before plugin updates, or when WooCommerce catalog size already stresses CPU on the old host.
Migrating then upgrading immediately works, but buying Business first avoids second migration stress tests and gives support one clear resource tier from the start.
WordPress hosting pricing promos differ by term length. A Business promo on a 48 month cart can look close to Premium monthly on paper until you read renewal lines. Compare identical months.
Agency owners moving three client sites should count website limits on Premium versus Business before submitting three migration tickets. Site count caps trigger upgrades faster than CPU charts for freelancers.
If Premium fits, choose Hostinger plan Premium on a term you can afford through renewal, request migration, and upgrade to Business later only when staging or daily backups become non negotiable.
Common WordPress Migration Mistakes to Avoid
Mistake one: buying hosting before you confirm free migration eligibility on the exact plan in your cart. Entry tiers sometimes differ from Premium and Business migration rules.
Mistake two: submitting migration before you can log into FTP yourself. If you cannot log in, Hostinger cannot either.
Mistake three: changing DNS at the registrar while the old site still receives orders you have not tested on Hostinger preview. Revenue loss beats a few hours of parallel testing.
Mistake four: forgetting MX records when switching nameservers. Website moves, email dies, owner blames migration quality when DNS was the real bug.
Mistake five: deleting the old host account on migration complete email day one. Keep it paid until SSL, forms, and email prove stable for at least 48 hours after propagation.
Mistake six: leaving caching plugins from the old host configured for old IP addresses. Purge all caches after DNS cutover and re-save permalinks once.
Mistake seven: assuming search rankings never flicker. Host moves can cause temporary volatility. Fix technical SEO basics, do not panic rewrite content in week one.
Mistake eight: migrating a malware infected site without cleaning first. You copy infected files into a fresh account and wonder why Hostinger support flags resource abuse.
Mistake nine: skipping license keys for premium themes and plugins. Migration copies files, not vendor account permissions. Re-download from ThemeForest or plugin vendor if activation fails.
Mistake ten: DIY plugin migration and free hPanel migration at the same time on one domain. Pick one path. Double imports corrupt databases.
Avoid those errors, then open best WordPress hosting Hostinger plans with a written timeline instead of rushing DNS on excitement alone.
Who Should Use Free Migration vs Manual Move
Free Hostinger migration fits most standard WordPress sites on shared or managed WordPress hosts elsewhere. Blogs, business sites, small stores, and nonprofit pages with normal plugin stacks belong here.
Use free migration when you have working FTP, a single primary domain install, and time to test preview before DNS. You value support handling file paths over learning Duplicator or All-in-One WP Migration nuances.
Consider manual DIY move when you run multisite networks with complex domain mapping, custom Bedrock or headless setups, or strict compliance rules that require you to control every byte transferred.
Consider manual move when the site exceeds stated migration size limits, includes sensitive data paths support cannot touch, or when you need zero third party access to credentials and must keep everything in-house.
Developers staging major redesigns sometimes migrate twice: once for parity copy, once after rebuild. Free migration handles parity. Redesign launch may still be a fresh install plus content import you manage.
Owners leaving builders like Wix or Squarespace are not migrating WordPress. They rebuild. Do not submit builder URLs to WordPress migration forms expecting a magic convert.
If you are unsure, start free migration with complete credentials. Hostinger support will tell you if the stack is too custom before you waste days on plugin exports.
Trustworthy advice: honest scope beats hype. Free migration is excellent for typical WordPress hosting moves. It is not a substitute for architecture changes you already planned during a rebrand.
When free migration matches your stack, get WordPress hosting on an eligible tier and submit the hPanel form instead of buying migration plugins you may not need.
Migration Timeline Checklist From Buy to Go Live
Use this timeline checklist beside hPanel so migrate WordPress to Hostinger free migration steps stay in order from checkout to live traffic.
Day zero, buy plan: confirm migration eligibility, promo price, renewal price, and free domain lines on order summary. Screenshot all three.
Day zero, same session: claim or connect domain inside hPanel if included. Point nothing public yet if the live site still runs elsewhere.
Day one: collect FTP, database, WordPress admin, and registrar logins. Test FTP login once. Store passwords in a password manager, not email drafts.
Day one: submit migration request with accurate domain spelling and special instructions for WooCommerce or multisite if applicable.
Day two to three: monitor email and hPanel status. Reply same day to credential follow ups.
Day three to four: test preview URL. Click menus, forms, checkout sandbox, and admin. Flush permalinks once if 404s appear on posts only.
Day four: export DNS zone from old host. Copy MX, TXT, SPF, DKIM, and CDN CNAME records into migration notes.
Cutover night: lower TTL if possible 24 hours earlier. Change nameservers or A record at registrar. Post maintenance notice if needed.
Cutover plus six hours: check propagation from external DNS tools and mobile network.
Cutover plus 24 hours: confirm SSL active, force https in WordPress, purge caches, submit test forms, send test email.
Cutover plus 48 hours: cancel old host only after backups downloaded and billing date understood. Some hosts require 30 day notice.
Week two: monitor Search Console crawl errors, analytics traffic, and hPanel resource graphs. Upgrade plan if CPU stays pegged.
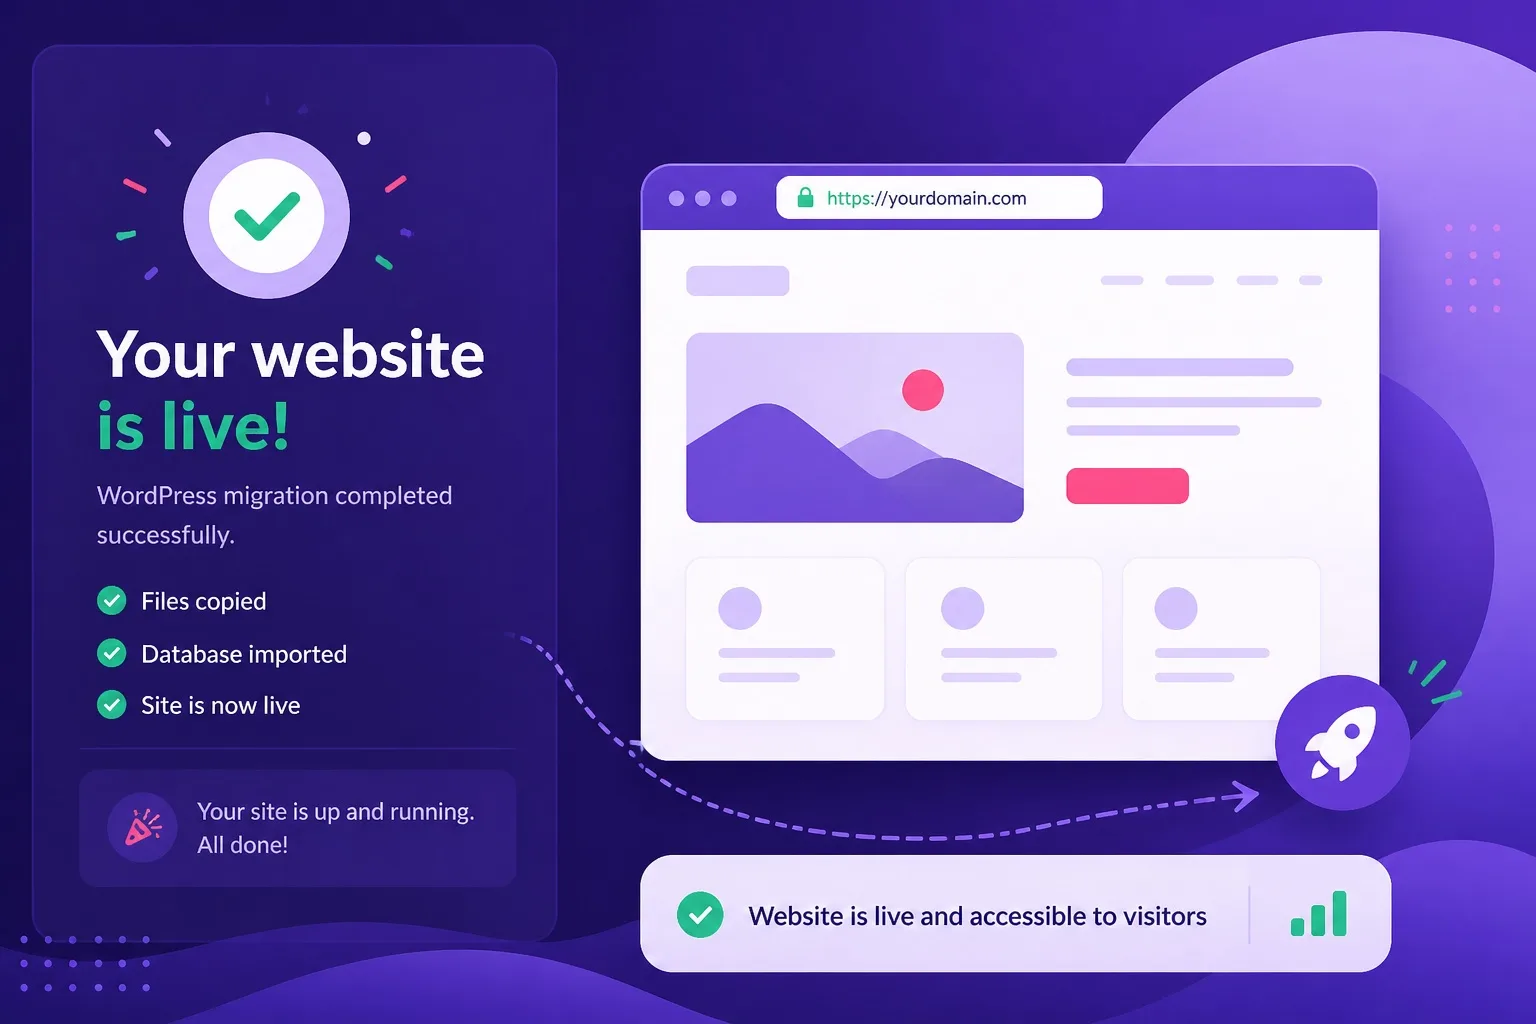
Go live only after preview tests, DNS propagation, and SSL activation finish. Keep old hosting warm for rollback.
Experience note: teams that follow a written timeline report less downtime than teams that treat migration as a single DNS click. The copy and the cutover are separate projects.
Ready to buy and queue migration today? Start WordPress hosting setup guide checkout on Hostinger, then work this timeline backward from your target launch date.
Write your cutover date, old host cancel date, and SSL check date on the same note so the migration queue and the DNS switch stay on one calendar instead of three chat threads.
For a wider view of Hostinger fit before you commit, visit the best WordPress hosting homepage and return here with plan choice settled.
FAQs: Migrate WordPress to Hostinger Free Migration
Is Hostinger WordPress migration really free?
Yes on eligible Hostinger WordPress hosting plans. You request migration inside hPanel after purchase. Hostinger copies your site from the old host. Confirm current migration limits and eligible plan tiers on the live managed WordPress hosting checkout page before you buy.
How long does Hostinger free migration take?
Simple sites often finish within 24 to 48 hours after you submit correct credentials. Large stores, heavy media libraries, or incomplete login details can take longer. Check migration status inside hPanel and keep the old site live until DNS cutover is verified.
What credentials do I need to migrate WordPress to Hostinger?
You normally need your live domain, old hosting control panel URL, FTP or SFTP host with username and password, and often the old WordPress admin login. Some hosts also require database name, user, and password. Gather everything before you open the migration form.
Should I change DNS before or after Hostinger migration?
Wait until Hostinger confirms the migration copy is ready and you have tested the site on a temporary URL or hosts file preview. Then update nameservers or A records. Changing DNS too early sends visitors to an empty or half built install.
Which Hostinger plan should I buy before migrating WordPress?
Premium fits most blogs and small business sites moving from another shared host. Business fits WooCommerce stores, agency client sites, and projects that need daily backups and staging. Match plan resources to your current site size and traffic.
Will my SSL certificate work after migration?
Hostinger issues free SSL on eligible plans after the domain points to Hostinger nameservers. Force HTTPS inside WordPress once the certificate is active. Clear cache plugins and recheck mixed content warnings on key pages.
Can Hostinger migrate a WooCommerce store for free?
WooCommerce sites can qualify when the store size and database stay within normal migration limits. Heavy product catalogs may need Business tier resources and extra testing time. Always verify checkout, cart, and payment flows after the move.
What if my old host uses cPanel and Hostinger uses hPanel?
Different panels are normal. Hostinger migration team works from FTP and database access, not from matching panel brands. Export is their job once you supply valid old host credentials and the correct live domain name.
Do I need a backup before requesting Hostinger migration?
Yes. Download a full backup from the old host or use a migration plugin export as a safety copy. Free migration is reliable for most sites, but a personal backup protects you if credentials were wrong or a plugin conflict appears after cutover.
Final Verdict: Buy, Migrate, Test, Then Switch DNS
Migrate WordPress to Hostinger free migration steps work best when you treat purchase, copy, test, and DNS as four separate milestones. Buy Premium or Business with migration eligibility confirmed, prepare old host credentials completely, submit hPanel request, verify the preview, then switch nameservers when SSL and forms pass your checklist.
Free migration removes manual zip uploads for typical sites. It does not remove your responsibility for email DNS, WooCommerce testing, or renewal math on the plan you chose before the move.
Follow the hPanel steps in order: buy an eligible plan, submit correct old host logins, test the copied site, then change DNS last. Keep renewal math and plan fit honest so the move stays useful after your WordPress site is live on Hostinger.
Next step: compare eligible tiers on Hostinger WordPress hosting promo pricing, confirm renewals, buy the plan that matches site weight, and submit migration the same week credentials were tested.
Screenshot promo and renewal before payment. Keep old hosting active until propagation and SSL succeed. Those two habits prevent most migration horror stories we hear from first time movers.
When the move finishes, revisit plan fit after thirty days of traffic graphs. Upgrade from Premium to Business only if staging, daily backups, or store load prove you need more headroom than migration day suggested.